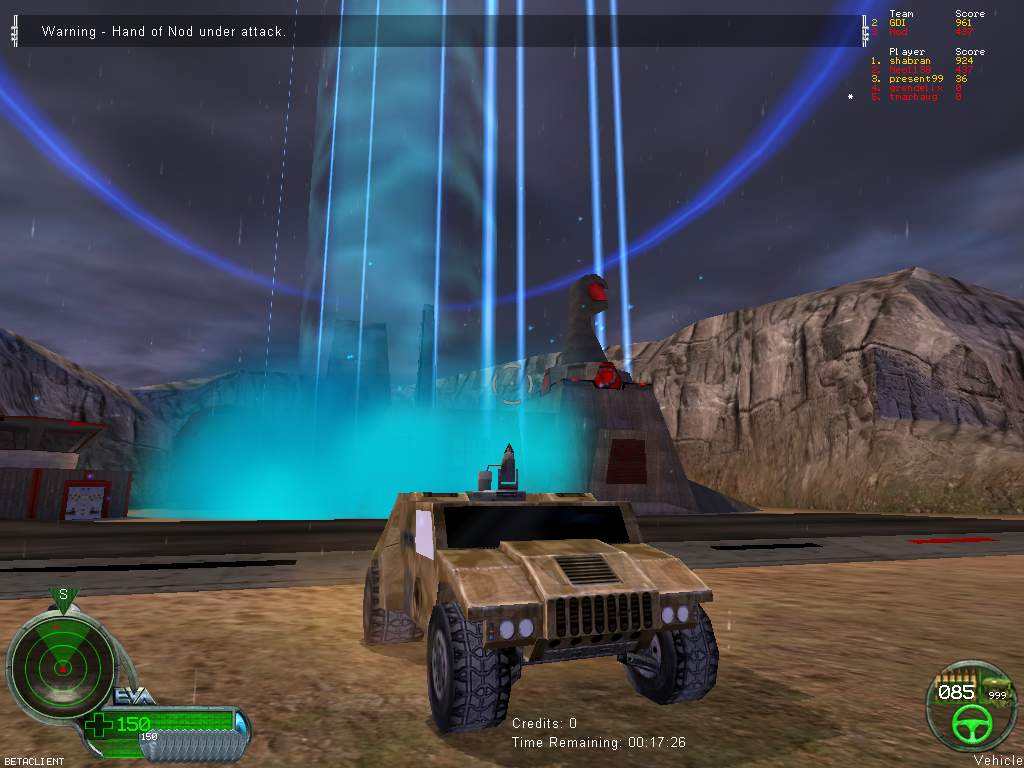
My RenegadeNet!


This is the section of my website that contains all my scoops, cheats, sites, rumors,
and information on Command and Conquer's great game,
RENEGADE©.
Cheats:
Press F8 to get up cheat box
extras, extras fnkqrrm or extras quantifigon
For all available cheats, press F8 and type help, all available
cheats will appear in magenta colored font.
To find out your ping number, open the F8 window and type fps.
The Truth of Rumors:
renegade is NOT a cheat
allguns AND all guns are NOT cheats
ilovecredits, eyelovecredits, and ilovecreds are not cheats
Cool Renegade Sites:
My favorite, where I get most of my stuff,
Renegade and Generals
Renegade Skins
Renegade Skins
Cool Renegade Skins
More Cool Renegade Skins
Renegade Skins for The Sims©
Skin TOOLS
Renegade Downloads
Renegade Maps
Command and Conquer Den
Good strategies if you're on GDI:
Defense 1: It all depends on how much money you have, what level you're on, and how many
people are on your team. Let's say you have 500 credits to start, you're in the level C&C_Under.mix, and you
have 2 people each. First thing to do: Buy a Hotwire, and get the other guy to be a grenadier,
and buy you guys a Humm-vee to share -- You want to be defensive, not offensive.
On your first defense, you want to get your Hotwire in the Advanced Guard Tower, and put proximity
C4 in a line across the door. Get him to stay in, and get the grenadier to stay out and spot
enemies. When they attack, get Hotwire to keep repairing the master control terminal, and the
grenadier to get rid of the attackers. If they lay a beacon, steal their vehicle and run over
them, and that gives you plenty of time to repair it. Make sure that it is Hotwire,
repairing the AGT and beacon, she is faster than an engineer, and has longer range (sometimes
helpful...).
Offense 1: When you have enough money, get the grenadier to get a
Mammoth Tank and a Mobius or 150 credit Sydney (to guard Hotwire, and defend tank). You follow him
in as Hotwire, and repair him when the Obelisk strikes. Once he's in, get behind him, and lay a
beacon by the Tower. Get in the Mammoth and guard it. If you sit ontop of it, you will not get
hurt (BUT YOU MUST BE IN THE MAMMOTH TANK!)
Offense 2: (BUY BEACON FIRST) Sneak into the Nod back enterance, and
go to the far door. When you get there, swerve behind the rock, and duck behind the little
concrete wall. Lay the beacon, and a timed C4 beside it (if you're Hotwire, lay two, along with
Proximity C4!). There goes the power plant! Now get an apc, and ride in to take over!
Good strategies if you're on NOD:
Defense 1: The first and foremost (assuming that you again, have 500
credits, two people, and are on 'Under' map), is you must lay proximity C4 in the back
enterance, by the boulder and concrete stationary. Get the other guy to get a Chem Warrior (or a
Flamethrower) and a Buggy, for defense.
Again, I will suggest the same thing. PUT C4 IN YOUR OBELISK, HAND OF NOD, AND AIRSTRIP! These
places are all very vulnerable...
You basically have the same strategy for Nod as GDI. You want to defend first, before you have
enough money for the big guns.
Offense 1: Here, you want to do two different things. Get a suicidal
guy to be an engineer, and get him an APC. Get the other guy to get a stealth tank and soldier.
Get the suicidal guy to go in and distract. Get him into the Weapon Factory (Caution: MAKE SURE
THEY DO NOT GET THE APC!). Go to the Advanced Guard Tower, and lay a beacon just outside it (WATCH
YOUR RADAR TO MAKE SURE YOUR STEALTH TANK IS SAFE! You do not want them to steal it and run over
you, like the GDI strategy suggests.). Once the beacon is laid, get in the tank and sit over it
(if you are in the tank when the nuke comes, you will not be hurt!). Now get back to base, join up
with your buddy, get flame tanks and technicians, and TAKE OVER!

Beacon placement strategies for GDI:
This assumes that you have destroyed the Obelisk with a cleverly placed beacon.
Firstly, do not place a beacon in an area where someone might see it. A good place to put it
on the Hand of Nod, is where the hand is. This is only possible on flying levels, but you just
drop from up above, and no Nod people will find it (I'm not talking about the place where the
little plus is, I'm talking where the Hand is actually planted!).
For the AirStrip, all you need to do is place it in the little hexagon to the right when you
enter. PLACE THE C4 FIRST! If you are Hotwire, you should have a guard, like Mobius, with you.
(Caution: This is only for C&C_Under map!) For the Power Plant, just go in the back enterance,
behind the concrete stationary by the boulder, and lay it. Put timed C4, remote C4, and proximity
C4. After all, this is a $1000 piece of equipment. For other maps, you should go either up on the
roof, or in the little gap between the smokestack and the enterance that sticks out.
For the Refinery, go behind the little silo. It is very common, so some people might notice
it.
Beacon placement strategies for Nod:
This assumes that you have destroyed the Advanced Guard Tower with a cleverly placed beacon.
A good strategy is to have a stealth soldier, so people are fooled into thinkning you have
left your beacon unattended.
For the Barracks, you just go behind it, where it looks like it is really inside, confusing
GDI till their eyes fall out. Make sure you guard it, just in case.
For the Weapons Factory, there is a little dent in the back of it (which is guarded heavily in
Glacier Flying!), a place that is asking to have a beacon placed within it. Again, this is a very
common place to put the beacon, so watch out!
(Caution: You cannot use the GDI strategy for the Under map!) For the Power Plant, you should
go either up on the roof, or in the little gap between the smokestack and the enterance that sticks
out. For the Refinery, go behind the little silo. It is very common, so some people might
notice it. It is the same for Nod and GDI.
I have just recently finished the Single Player game, so I have alot of experience. The level
"Obelisk of Opperession" seems to cause some confusion. All you have to do is follow your radar,
like on any other level. There are alot of vehicles in this level, so take them out with rockets.
Watch for the distortions that the Stealth tanks and soldiers cause, these are the telltale signs.
You (if you have good health) can survive one Obelisk shot. This gives you enough time to get past
it, and into it to disable the Obelisk. This also gives you shelter for firing rockets at the
Surface to Surface Missile Launchers.
On the levels after that, take the ceiling guns out with a laser weapon. Two shots, and BAM!
Protecting Mobius is the hardest thing (I think) in this game. When you kill Raveshaw
(Rav-ehh-shaw), you meet up with Ignatio Mobius. You need to get him to the Assault Suit, which
isn't very hard at all. Mobius will pick it up in a cutscene, and put it on, making his health
full. The annoying part, is that Mobius wants to participate with any activity, making him lose a
ton of health. Best thing to do is, go ahead of him (he can run incredibly fast, so you
have to be too!), and pick off the Initates. They do help, by eliminating the other Nod people
(they are the most retarded idiots you could meet, they kill each other!), but you have to watch
out for their Chem Sprayers, they eliminate Mobius's health fast (and he can't pick up health or
armor either!). So snipe off all of the dudes before Mobius tries to "Save the Day". After the
first group of Initates, you will encounter some ceiling guns. Take them out with a laser, and go
to the elevator. BEFORE YOU GO UP: Quicksave, or save your file, the next part took me an hour to
get by, and it took 6 reloads!
- Take out the ceiling guns with a laser.
- Take out the first Templar and Acolyte, again with the laser (be sure NOT to hit Mobius,
Friendly Fire is on!)
- Shoot the seven or eight guys that begin to attack Mobius, and get him to help with the two
stealth troopers that come from some boxes by the elevator.
- Once all of these guys are eliminated, eliminate the final s-trooper that comes from the right.
- Pick up the armor and health, go up the stairs on the far left, and walk to the garage door
where there is a neon green star on the radar.
- You use a rocket launcher on the stealth tank, waiting to kill you.
- Now, 4 or 5 Initates (unarmed) are wandering around in front of you. Try to take out each one.
- Once you're done, you'll notice 7 red dots on your radar (Nod Officers). Take out some with
the rocket launcher, and the remaining ones with a laser or a chain gun.
- When you escort Mobius to the helicopter, you will be attacked by 2 black hands. Some GDI
soldiers and Gunner will help, but use a laser on them to finish them off.
- Run up to the helicopter with Ignatio Mobius.
I really like the level after this. You start behind some vehicle ruins, and hear Locke telling
you about a Mammoth Tank up ahead.
- Run (not walk) up to the action, and burst into the multi-level Hand Of Nod. When you reach
the windows, shoot them out with a pistol, and continue down with a laser.
- Once you're down, the guys there can be taken out with a laser. There are two ceiling guns
waiting to kill you. shoot them out. Go to the MCT (Master Control Terminal), and place one C4 on
it to disable the Hand of Nod.
- Once by the windows again, you can see a Light Tank and a Stealth Tank. Get them with a rocket
launcher, while being careful not to shoot the little bars between windows.
- Once out, go get the Mammoth tank, and eliminate the resistance. Park by the gate.
- Take out the turrets, and go into the hidden enterance (without the mammy) and take out the two
turrets.
- Locke comes on EVA and tells you to disable the Nod Refinery up ahead. The MCT is a little
hard to find, but once you're there, just disable it with one shot of a Personal Ion Cannon.
- Next, you have to go through a LOT of guards to get to the switch (make sure you use your
laser!). Once you're at the switch, make sure you have the green key (I made this mistake three or
four times!).
- Once it's down, get the Mammoth Tank from just behind the two gates. Drive it in, and
eliminate the guards. Disable the Obelisk, and the SAM Sites. I don't exactly remember where to go,
but Locke will tell you.
- Once you get to a gate, press the switch, and use the rocket launcher on the turrets. Down
below, there is a Power Plant, and a Communication Center, along with a Helicopter Pad, and some
other structures. When you've taken these out, your radar will come back on, and Locke will talk
to you. DO WHAT HE SAYS.
- When you have placed the Beacon, you will start the next level.
This level is called: Stomping on Holy Ground. I kinda like it, only it is a bit confusing...
I'll try to remember it best I can.
- First, you need to eliminate the CEILING LASERS! They will kill you fast, considering there are
6-10 of them, one between each post. Then take out each black hand... They swarm fast...
- Next, run down all the ramps around the area, until you find some more B-hands, and Kane. Havoc
will talk to him... then save it.
- Exit down one of the two doors, down into an area full of problems...
I have yet to update this more -- coming soon!
Back
Refresh
